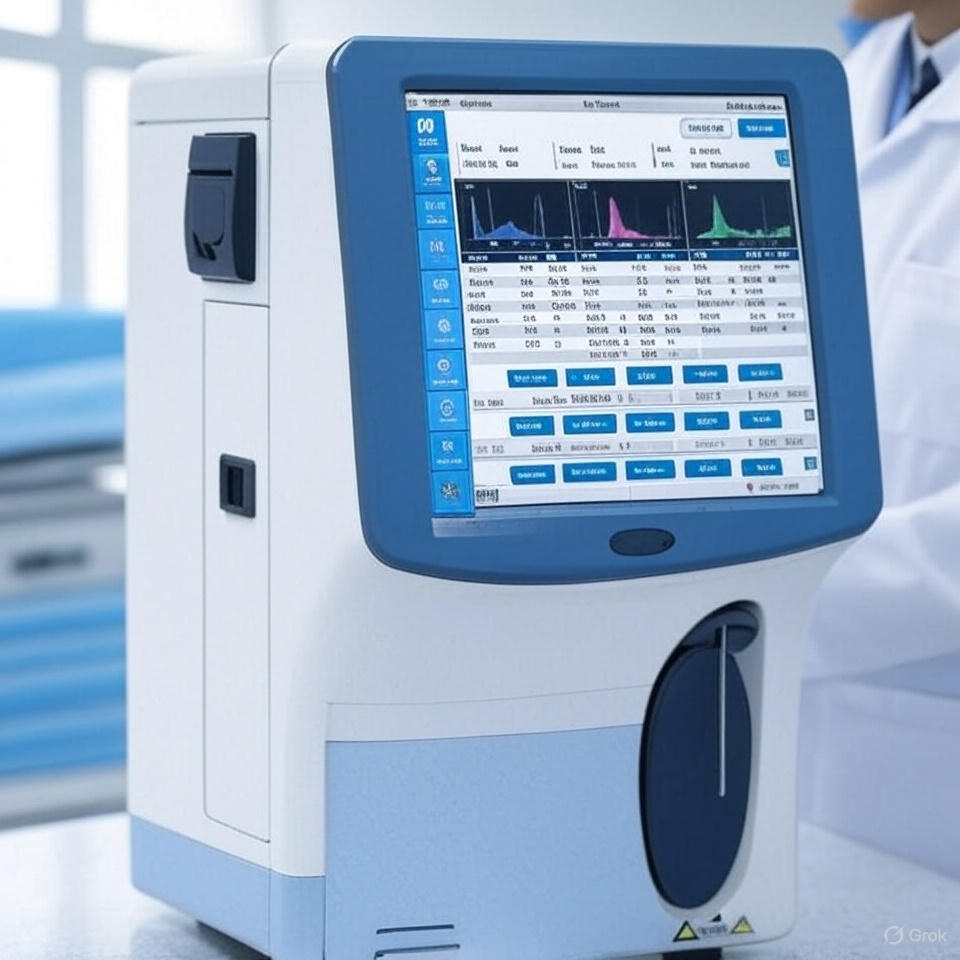
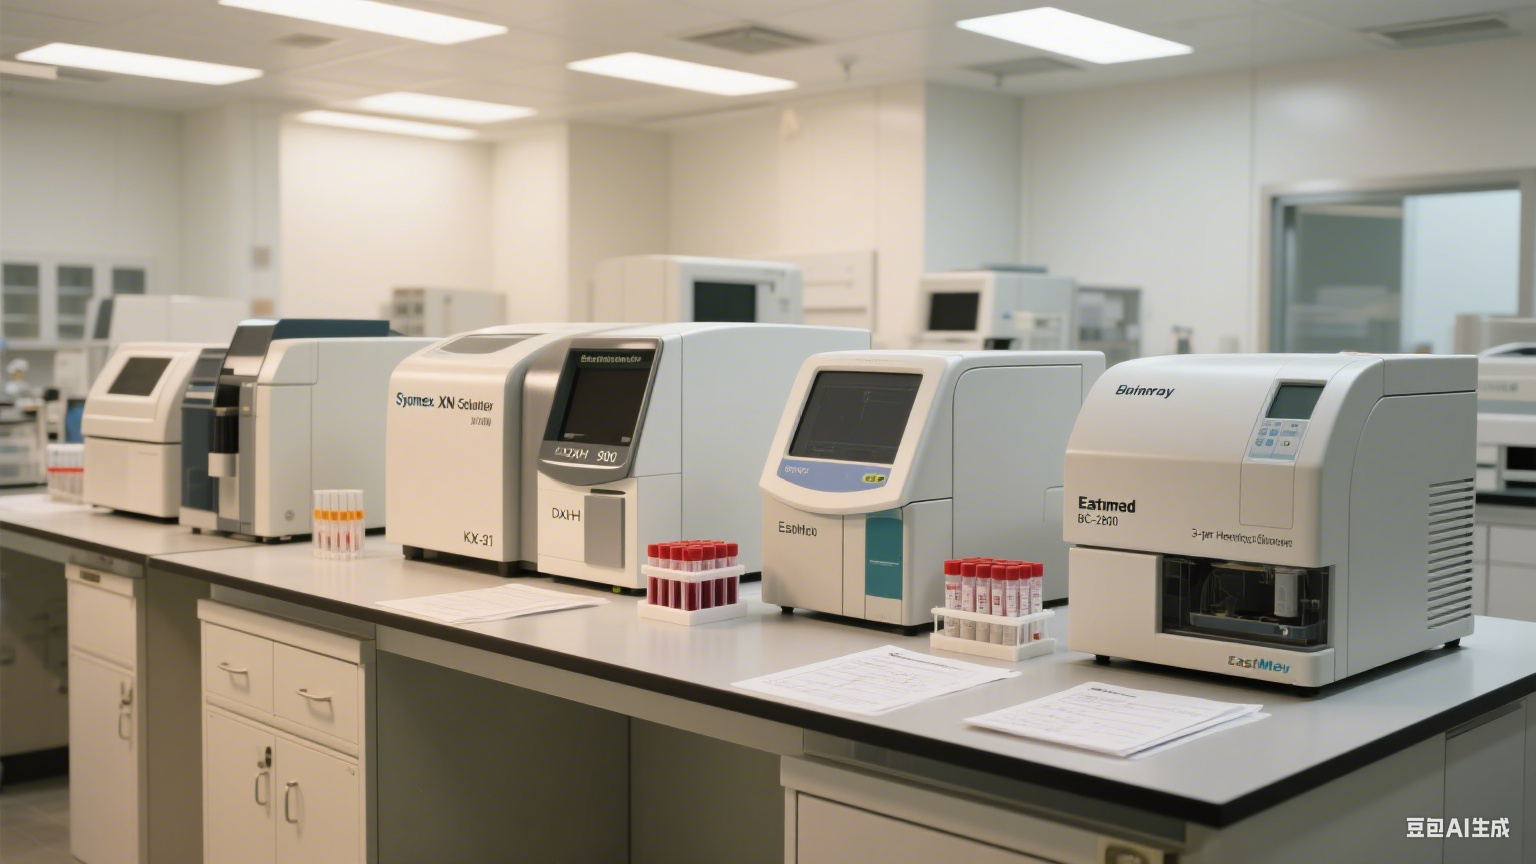
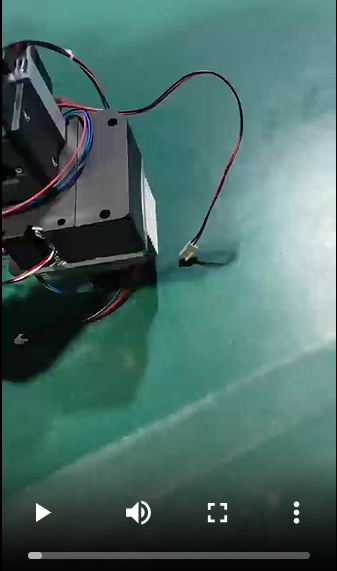
To adjust the optical offset value (signal when no light passes through the flow cell) on a semi-automatic blood cell analyzer, follow these steps: Locate the blue potentiometer (RP1) near socket S3 on the mainboard. Block light by inserting a cup adapter into the flow cell. Power on, navigate to Home > Test > Check AD, and start the test. Observe the offset value (R.T.)—adjust via RP1 to achieve 10–50 (recommended: ~30). Clockwise rotation ↑ value, counter-clockwise ↓ value. Ensure Max Diff < 10 for stability.

East-Medical.com Auto Chemistry Analyzers: Streamline Your Lab Workflow Our auto chemistry analyzers are designed to elevate laboratory efficiency by seamlessly integrating external or internal scanning capabilities. This feature allows you to scan both reagents and samples, ensuring precision and reducing manual intervention. Key Features: Flexible Scanning Options: Choose between external or internal scanners based on your lab’s workflow needs. Dual Scanning Functionality: Scan reagents for batch verification and samples for accurate identification. Error Reduction: Automated scanning minimizes human error, ensuring reliable results. How It Works: Scan Reagents: Verify reagent batches and expiry dates directly on the analyzer. Scan Samples: Automatically track and identify samples to eliminate mix-ups. Automated Processing: The system integrates scanned data into the workflow, enabling rapid analysis and results. By streamlining reagent and sample management, our analyzers maximize throughput, reduce downtime, and enhance overall lab productivity. Experience enhanced accuracy, faster turnaround times, and a smarter workflow with East-Medical.com.

Learn to accurately calculate reading points on the EM-200Plus chemistry analyzer for 1-point, 2-point, and kinetic methods. This guide simplifies reaction time conversions (18-second cycles), R2 handling, and endpoint determination to ensure precise lab results and streamlined workflows. Perfect for lab technicians and clinical chemists optimizing analyzer performance.

Summary Brief: EM6100 Hematology Analyzer Abnormal Pressure (Low) Error Issue: Persistent "Abnormal Pressure (Low)" error after using the Clear function. Safety: Treat all samples, reagents, and leaks as biohazards. Wear PPE (gloves, lab coat, goggles) and follow lab safety protocols. Quick Fixes for Users: Press Clear to attempt auto-resolution. If unresolved, contact technical support. Post-resolution, verify system accuracy with QC/calibration tests. Technician Steps: Check Negative Pressure values in Diagnostics mode. Test valves/pump via Service Menu → Valve/Pump Test. Inspect tubing and chambers for air leaks or blockages. Replace faulty components (e.g., valves, tubing). Prevention: Clean waste pump weekly. Inspect tubing/valves monthly. Calibrate pressure sensors quarterly. Download Full Guide: 📥 EM6100 Troubleshooting PDF for detailed instructions and diagrams. Resolve errors efficiently while ensuring lab safety and analyzer reliability.

Learn to clean WBC chambers and resolve HGB alarms with our video tutorial. Follow steps 1-2 post-cleaning for accurate lab results." WBC cleaning and HGB alarm troubleshooting.

The EM-3200 Automatic Blood Cell Analyzer requires routine maintenance to ensure accurate sample testing. Key steps include: Power On: Verify blank counts (WBC≤0.3, RBC≤0.03, HGB≤1, PLT≤10); perform cleaning if counts fail. Power Off: Use "Concentrated Cleaning Solution" during shutdown. Maintenance Tips: Ensure proper reagent/waste line connections (18°C–30°C environment). Use dust-free paper (not regular towels) in pre-dilution mode to avoid clogs. Use "Probe Cleaning Solution" for soaking/burning and "Cleaner Concentrate" for power cleaning/shutdown. Clear blockages via "burning hole" or "soaking and burning" in the service menu. Prime reagents after replacement (e.g., "priming diluent"). Cover the instrument when unused (power off) and "pack" with distilled water for long storage/shipment. SEO Optimized Content