


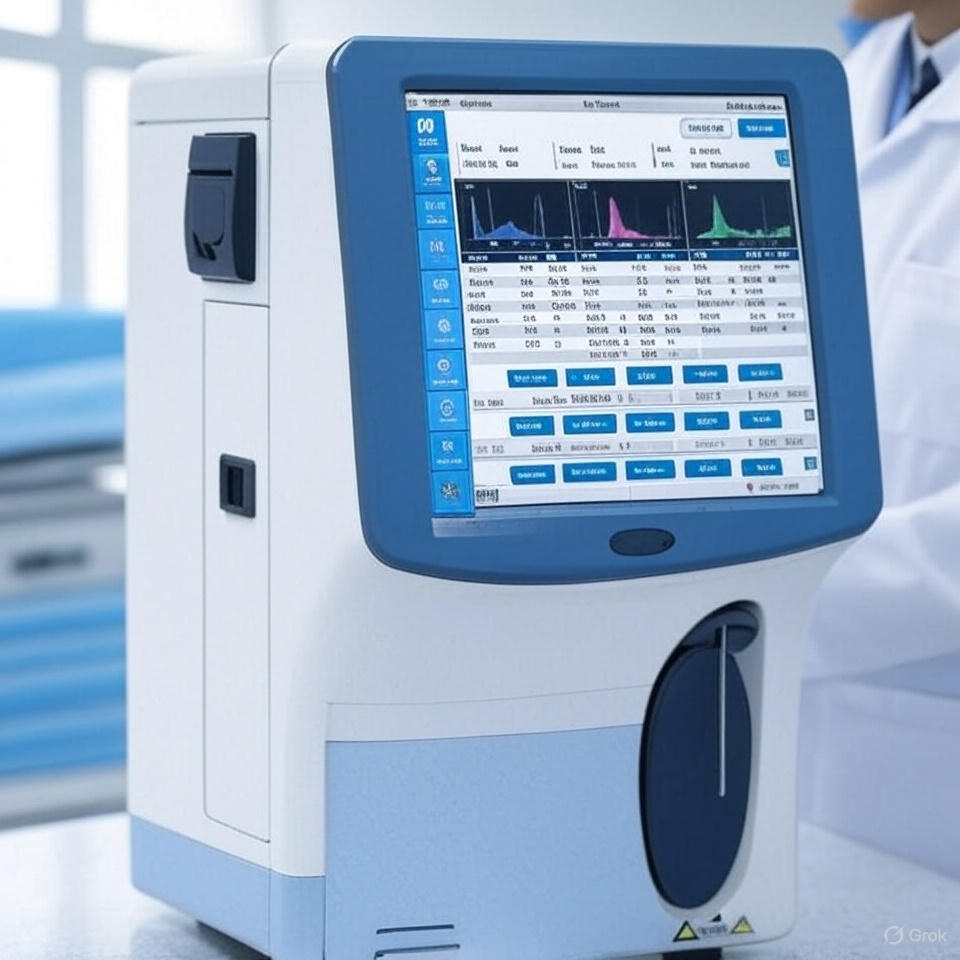
Blood Chemistry Analyzer Calibration: Why Theoretical K-Factors Fail
Discover why skipping proper calibration for theoretical K-factors risks inaccurate results. Learn correct calibration workflows for blood chemistry and hematology analyzers to ensure reliable diag...
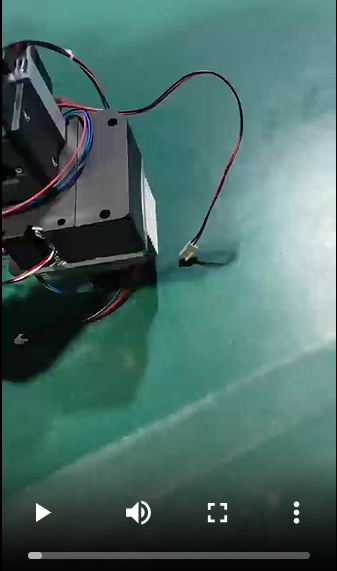
em7100 troubleshooting video galary
em7100 troubleshooting video galary
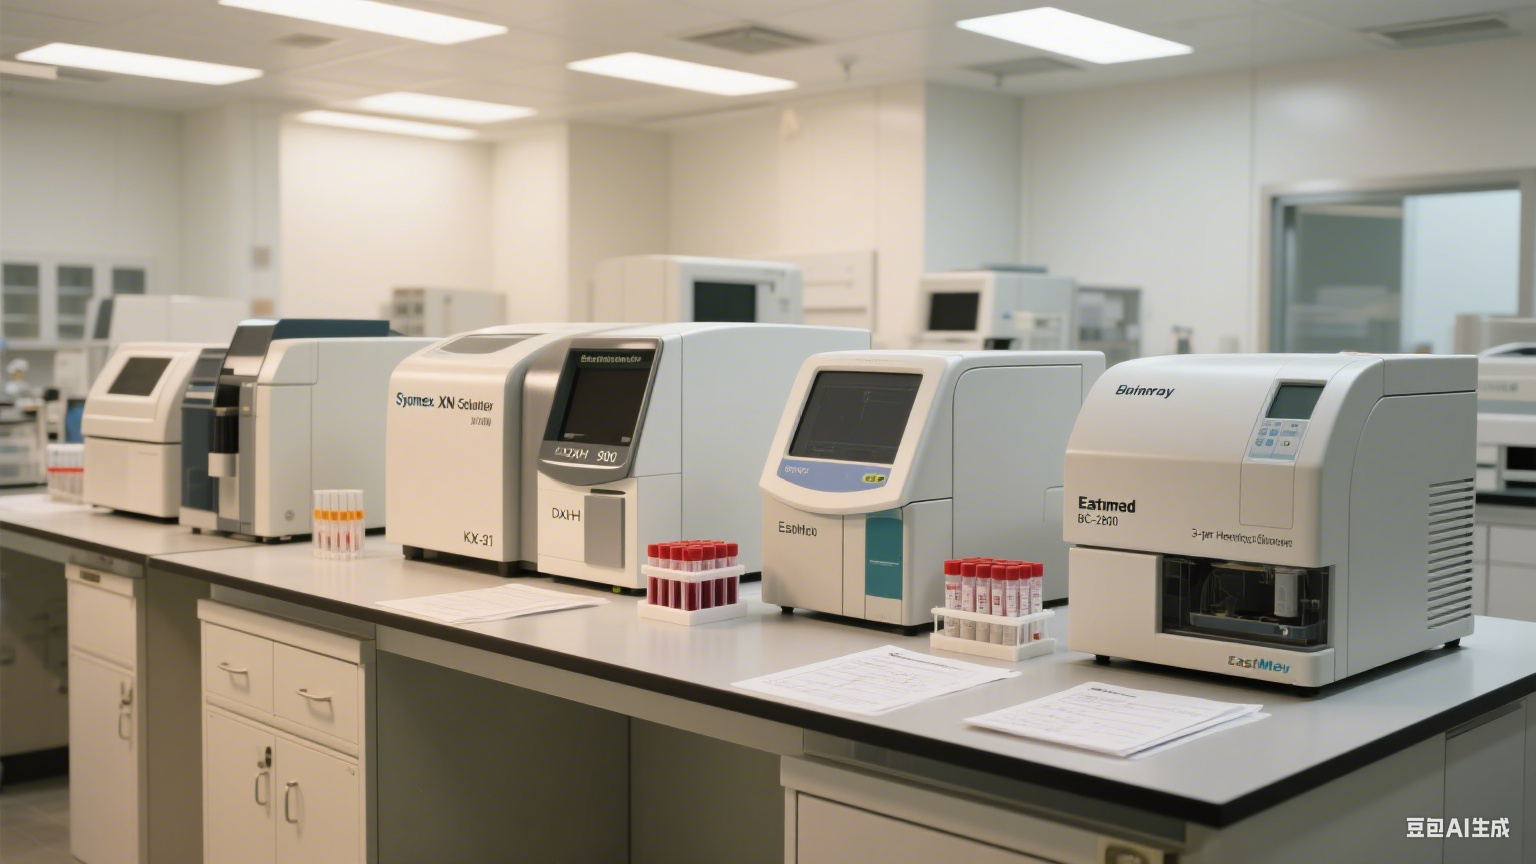
Automated Chemistry Analyzer Assembly
Automated Chemistry Analyzer Assembly

Showing 1
to 10
of 20 results